How to create your own VPN server with DigitalOcean
Recently I needed to create a VPN so I could watch a free episode of the West Wing. Originally I thought of using NordVPN but they wanted me to pay for a year upfront which isn't something I really want to do.
Then I had a thought: why don't I just create an Open VPN server with DigitalOcean? It would let me really easily spin up a server and then destroy it again after I've finished watching.
So that's exactly what I ended up doing. I thought I'd document it here in case I need to do it in the future or it's helpful for someone else.
-
Create a DigitalOcean account if you haven't already (that's a referral link, you'll get some nice credit and I'll get some nice credit, win win!)
-
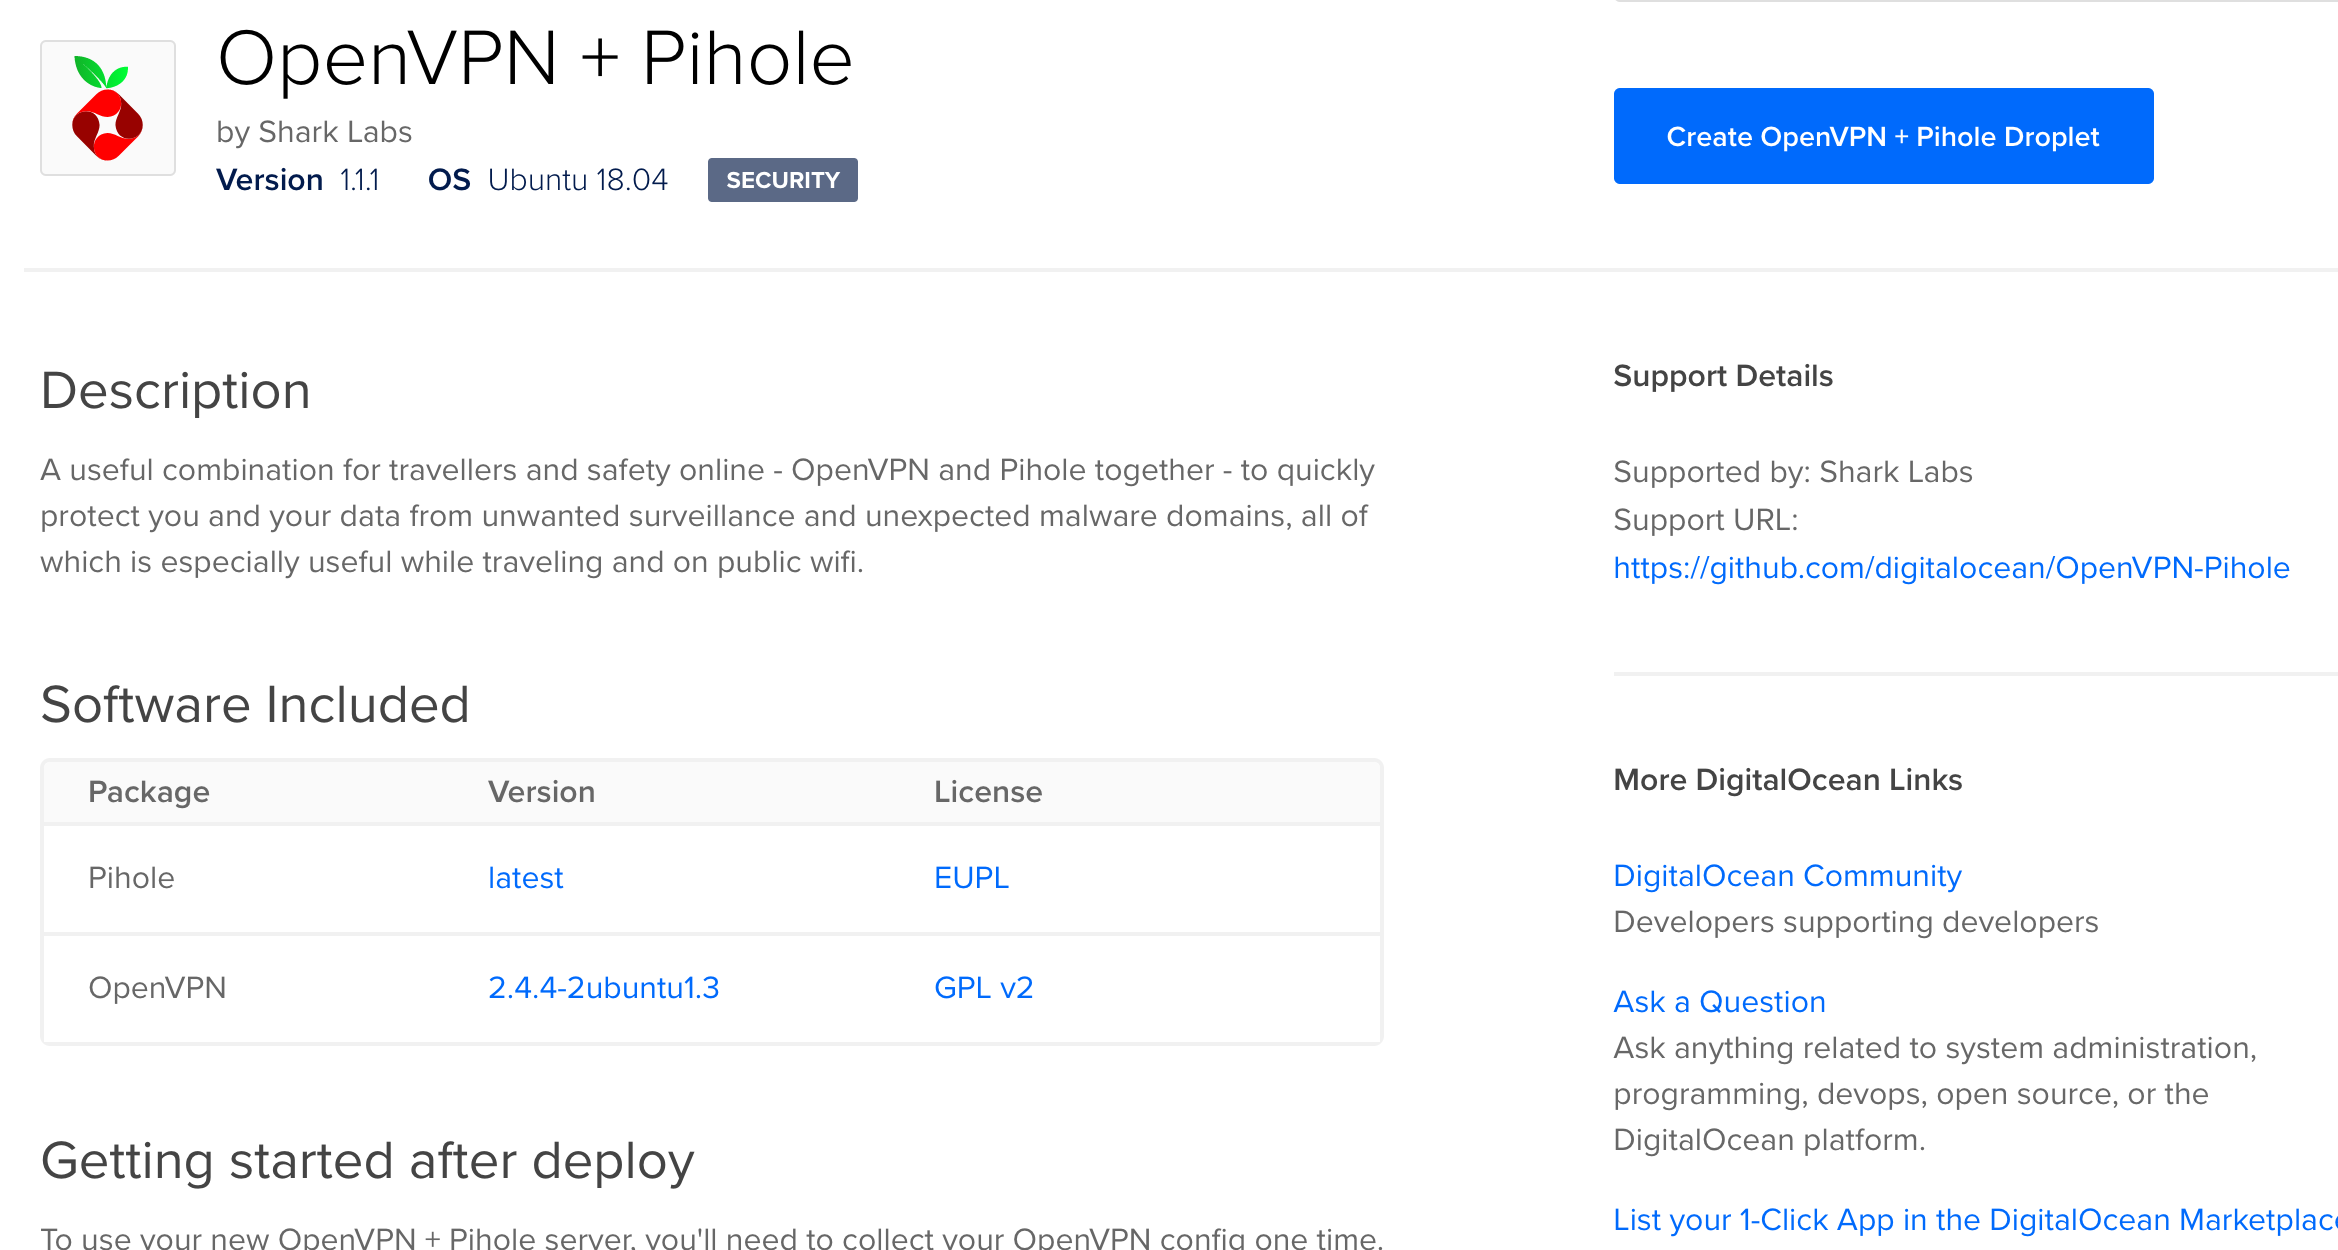
Go to the Marketplace page and search for OpenVPN & PiHole. Click the big blue button to create your new server.
-
In the creation page, you can select where you'd like the server to be located and the size of server you want. After you're done, create the server. It'll take a few minutes to provision.
-
Once provisioned, you'll see an IPv4 address. You can then SSH into it.
-
When you SSH in, run cat /root/client.ovpn and copy and paste the output of the file contents into a new file
-
Save the new file with the .ovpn file extension.
-
If you don't already have it, download the OpenVPN Connect app for your computer.
-
Open the OpenVPN file with the OpenVPN Connect app
-
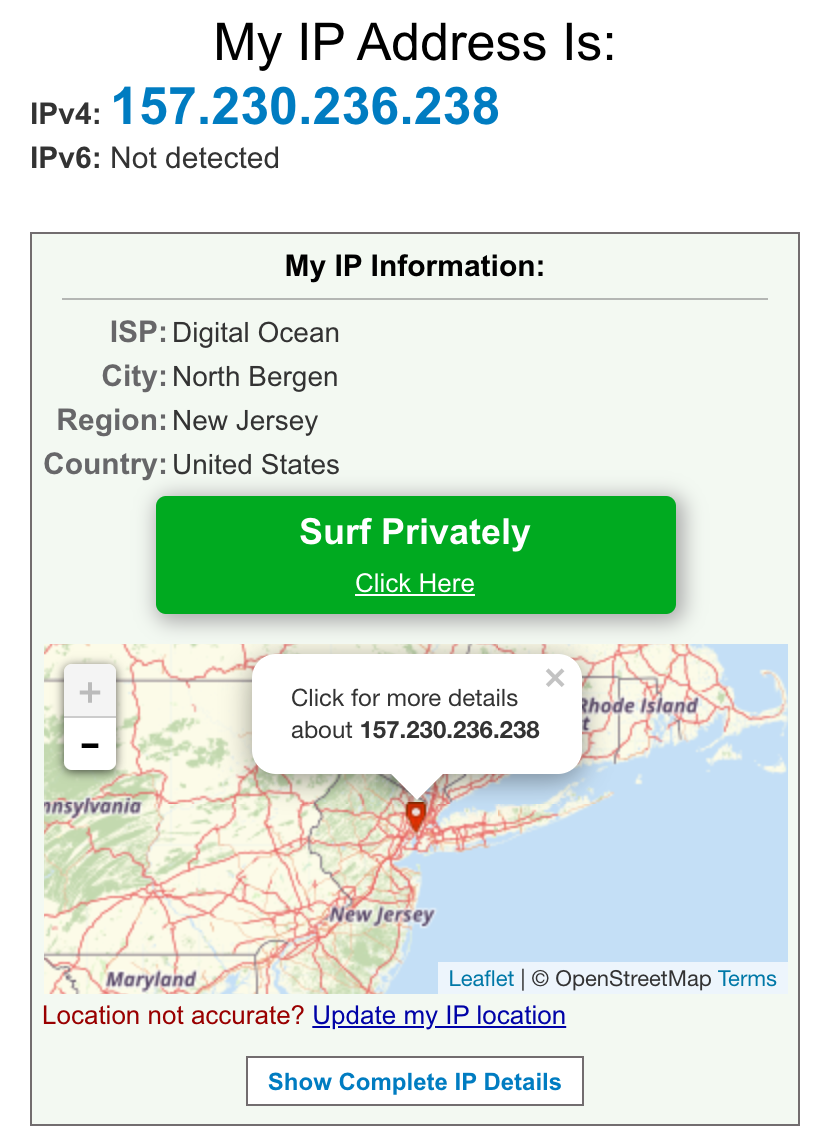
You should now be located inside your DigitalOcean droplet. To check your VPN is working and you're connected properly, go to https://whatismyipaddress.com/